Showing posts with label Tutorial. Show all posts

Wednesday, November 28, 2012

Snowflake Window Decoration Tutorial

I am not really a winter person, but I do really like snowflakes. And as much as I love decorating for Christmas, I love having decorations that can be up past Christmas. The house always looks so bare after Christmas when all the decorations are put away, so to be able to keep some 'winter' decorations up, helps me to keep the 'winter blues' away.
 
One of the very first things I pinned on Pinterest was a window decoration using ornaments. This year, I have been pinning some crochet snowflake projects and thought I could use the same concept as the ornaments, but use snowflakes instead.
 
So I used this snowflake pattern, but instead of making the garland, I made single snowflakes.
 
 Then I gathered some pom poms, fishing line, a needle and a pair of scissors.
 
 I tied a knot at the end of a length of fishing line and put this through a pom pom.
 
 Then I threaded the fishing line through one of the snowflakes. To kind of keep the snowflakes and pom poms from slipping down the fishing line, I looped the fishing line around again and put the needle through the same spot. You can add as many pom poms and snowflakes to a length of fishing line that suits you. Then I made a loop at the top of the fishing line.
 
 I placed tension rods in the window frame
 
 Then using ornament hooks, I hung the lengths of snowflakes and pom poms onto the tension rods.
 
 You can add as many lengths to your window as you like.
 
I just love the way it looks!
 
What projects are you working on?

Wednesday, March 14, 2012

Pennant Banner Tutorial


My mantle was looking a little bare of spring


So I created a triangle template and cut the triangles out from some spring looking scrap material (I cut 2 sides with my pinking shears and one side with regular scissors)


I found some single fold bias tape in a good coordinating color


At the sewing machine, I folded over the bias tape along the raw edge of the triangle


The middle triangle needed something a little extra, so out came the box of felt and jar of buttons


Using a template, I cut a flower shape out of the felt


Hand stitched a button through the center of the felt flower through the middle triangle on the banner


And now the mantle looks a little more like spring!


Tuesday, February 14, 2012

Baby Wash Cloth Tutorial

Last week, I shared with you how to make a flannel baby blanket. If you made the blanket, you know there will be some extra flannel material. I have been using the extra flannel material to make baby washcloths!


The steps are very similar to making a blanket, just a little smaller this time.


Find a coordinating terry cloth material to go with your flannel print. You will not find a lot of choices for terry cloth at the fabric store, so just pick something that will match most of the flannel you have on hand.


I use my quilting tools to cut out 6 inch squares from the flannel print and terry cloth.


With right sides of one flannel print and one terry cloth square pinned together, I take my scissors and slightly round each of the corners.


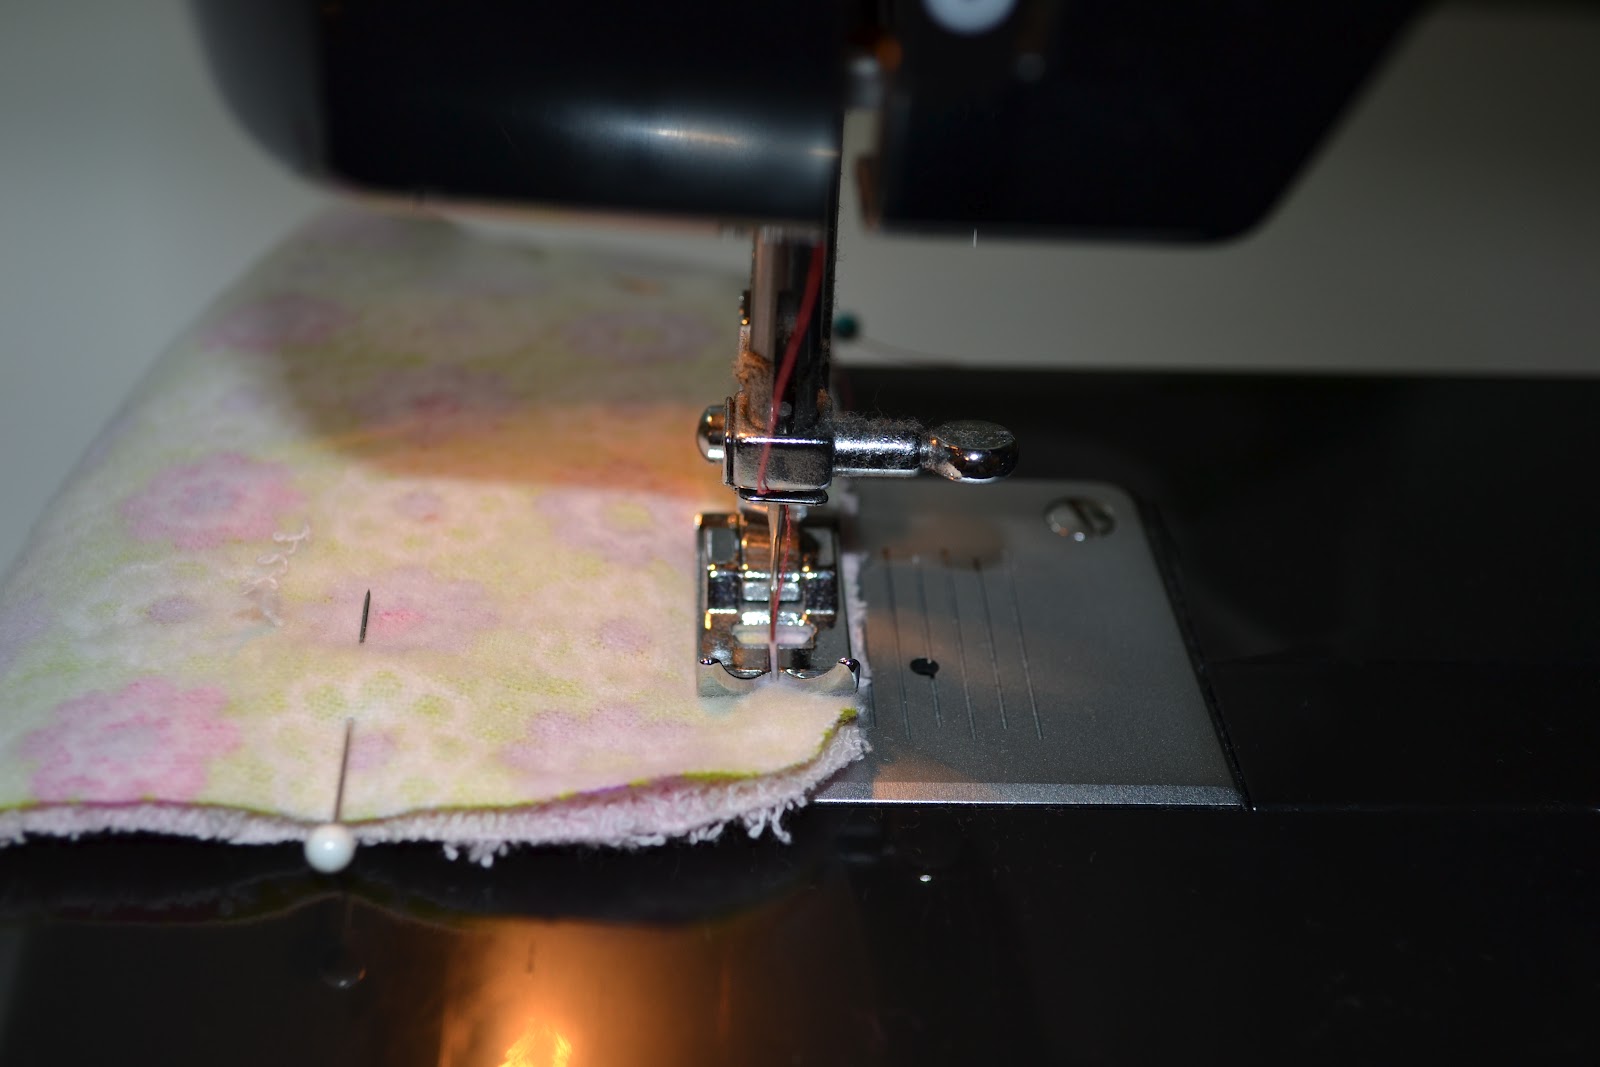
Time to move to the sewing machine! I use about a 1/4 inch seam on these, but remember to leave an opening to turn these right side out!


Clip each of the corners like you did for the blanket.


Pull in the right side out through the opening you left.


Give each wash cloth a press with the iron.


Back to the sewing maching to zig-zag stitch around.


Time for some thread and a needle to stitch closed that opening.


Ta da! In less than one hour and for less than $5, you can have a really nice homemade baby gift!

Tuesday, February 7, 2012

Flannel Baby Blanket Tutorial

The day after Thanksgiving, you can usually find me out at JoAnn's buying flannel for $1.49 a yard. I often buy 10 yards or more of print and solid color flannel to make baby blankets for baby showers. Since I was making one today, I took pictures along the way for this tutorial.


After you have washed and dried the material, I cut a 30 inch square from one print and a matching solid. Place the materials so that the right sides are facing each other.


Then I take some sort of round object (plate, bowl, etc.) and round out the corners.


To keep the material from shifting while sewing, I do pin the material all the way around the blanket.


Take the material to your sewing machine and sew almost all the way around the blanket. I usually use about a half an inch seam.


Be sure to leave an opening wide enough for your hand to get in and pull out the right side of the blanket.


Before pulling the right side of the blanket out, I clip the corner seams. This helps the blanket to lay down nicely.


Pull the right side of the blanket out through the opening.


Take the blanket and press the seams all the way around the blanket.


Change your sewing machine to a zig zag stitch and stitch all the way around the blanket about 1/2 - 5/8" from the edge.


Then thread a needle with similar color thread and stitch the opening closed.


Give the blanket a once over with the iron and you now have a homemade baby blanket for the next baby shower you are invited to.


Next week, I will show you what I do with some of the scrap material for another baby shower gift idea.